5. 요구사항에 따라 UI 수정 및 기능구현
리액트 코드 및 외부 CSS파일
import React, { useState } from "react";
import "./TopPanel.css";

export const TopPanel = ({ onToggleDEM, onToggleWatershed, onTogglePollution }) => {
  const [showDEM, setShowDEM] = useState(false);
  const [showWatershed, setShowWatershed] = useState(false);
  const [showPollution, setShowPollution] = useState(false);

  return (
    <div className="top-panel">
      <div className="top-row">
        <button className="logo-button">
          <div className="circle" />
          로고
        </button>
        <button className="main-button">수질예측시스템</button>
        <button className="main-button">주제도 찾기</button>
      </div>

      <div className="search-row">
        <select className="dropdown">
          <option>주제도</option>
        </select>
        <div className="search-icon" />
      </div>

      <div className="features">
        <label className="feature">
          <input
            type="checkbox"
            checked={showDEM}
            onChange={(e) => {
              setShowDEM(e.target.checked);
              onToggleDEM(e.target.checked);
            }}
          />
          DEM 보기
        </label>

        <label className="feature">
          <input
            type="checkbox"
            checked={showWatershed}
            onChange={(e) => {
              setShowWatershed(e.target.checked);
              onToggleWatershed(e.target.checked);
            }}
          />
          하천유역 보기
        </label>

        <label className="feature">
          <input
            type="checkbox"
            checked={showPollution}
            onChange={(e) => {
              setShowPollution(e.target.checked);
              onTogglePollution(e.target.checked);
            }}
          />
          오염원 보기
        </label>

        {[...Array(2)].map((_, i) => (
          <div className="feature" key={i}>
            <div className="feature-circle" />
            세부기능
          </div>
        ))}
      </div>
    </div>
  );
};
.top-panel {
    background-color: white;
    padding: 12px 16px;
    border-radius: 12px;
    box-shadow: 0 0 6px rgba(0, 0, 0, 0.15);
    display: flex;
    flex-direction: column;
    gap: 10px;
    width: 340px;
    font-family: 'Inter', sans-serif;
  }

  .top-row {
    display: flex;
    align-items: center;
    justify-content: space-between;
  }

  .logo-button {
    display: flex;
    align-items: center;
    gap: 8px;
    border: none;
    border-radius: 20px;
    padding: 4px 10px;
    font-weight: 600;
    font-size: 14px;
    background-color: white;
    color: black;
  }

  .circle {
    width: 24px;
    height: 24px;
    border: 2px solid #007aff;
    border-radius: 50%;
  }

  .main-button {
    border: 1px solid #007aff;
    background-color: white;
    color: #007aff;
    padding: 4px 12px;
    border-radius: 5px;
    font-weight: 600;
    font-size: 14px;
    cursor: pointer;
  }

  .search-row {
    display: flex;
    align-items: center;
    background-color: #ddd;
    border-radius: 4px;
    padding: 6px 10px;
    justify-content: space-between;
  }

  .dropdown {
    border: none;
    background-color: transparent;
    font-size: 14px;
    font-weight: 500;
  }

  .search-icon {
    width: 20px;
    height: 20px;
    background-image: url('./svg/search.svg'); /* 직접 경로 설정 */
    background-size: cover;
    background-position: center;
    background-repeat: no-repeat;
    border: none;
  }

  .features {
    display: flex;
    justify-content: space-between;
    margin-top: 4px;
  }

  .feature {
    display: flex;
    flex-direction: column;
    align-items: center;
    font-size: 12px;
    font-weight: 500;
    color: #333;
  }

  .feature-circle {
    width: 32px;
    height: 32px;
    background-color: #e0e0e0;
    border-radius: 50%;
    margin-bottom: 4px;
  }
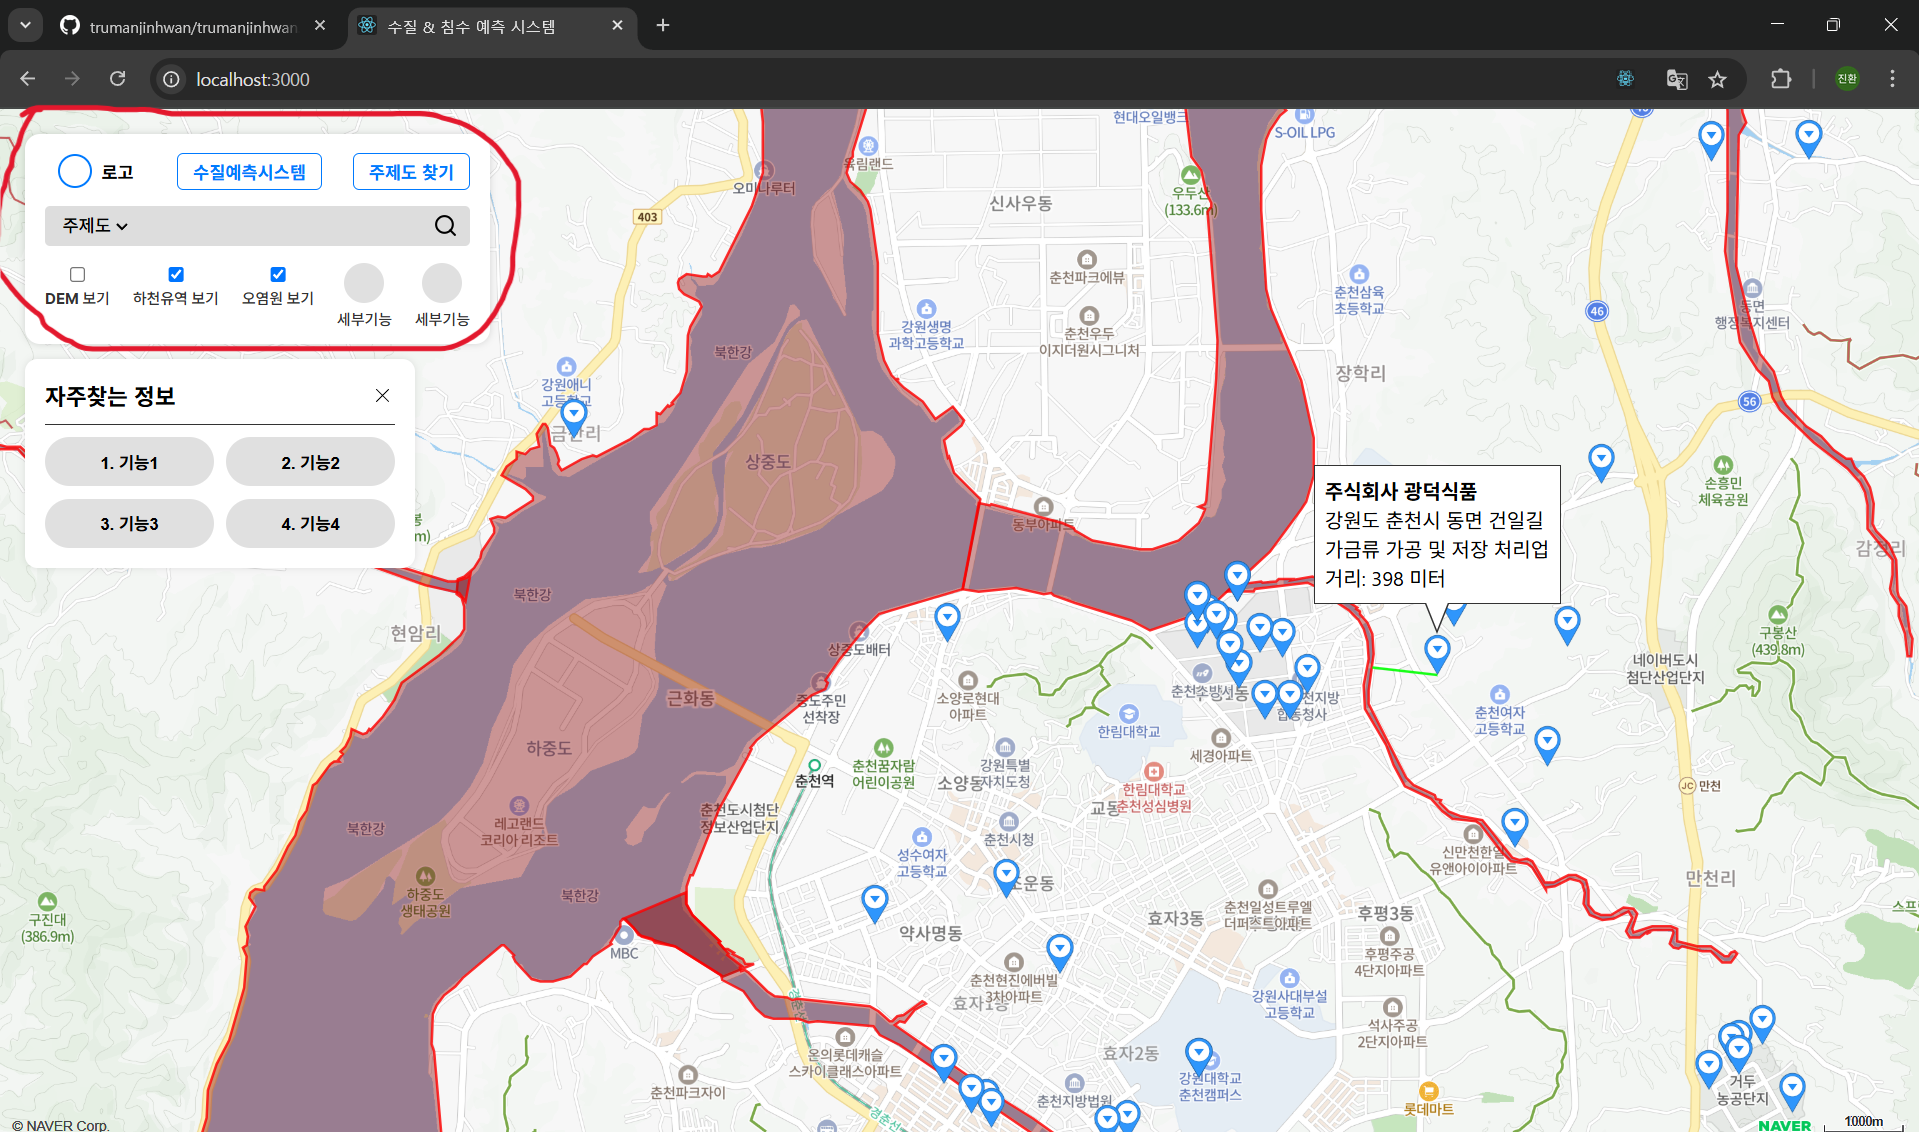
이미지에 빨간색으로 표시된 UI패널 부분의 리액트 코드 및 CSS파일입니다.
리액트의 useState()를 이용해서 외부에서 받은 값에 따라 기능을 구현합니다. 지도 위에 여러 정보가 겹치는 기능을 구현하기 위해서 라디오버튼보다는 체크박스 UI를 사용했습니다.